Introduction
EDEMpy is a Python library for accessing EDEM simulation data that takes advantage of EDEM's HDF5 (.h5) file structure. Using the library, it is easy to extract specific data from a simulation deck and process that data in a customizable and reusable way.
After running an EDEM simulation, users have to analyze large amounts of data that were generated across many timesteps. With EDEMpy it is easy to access and manipulate that data even without advanced programming skills. By integrating EDEM with Python, EDEMpy allows users to automate workflows and develop custom analyses tailored to their specific application needs.


What Can You Do with EDEMpy
EDEMpy provides powerful capabilities for analyzing your EDEM simulations:
- Extract and analyze particle properties such as position, velocity, and forces
- Calculate custom metrics specific to your application
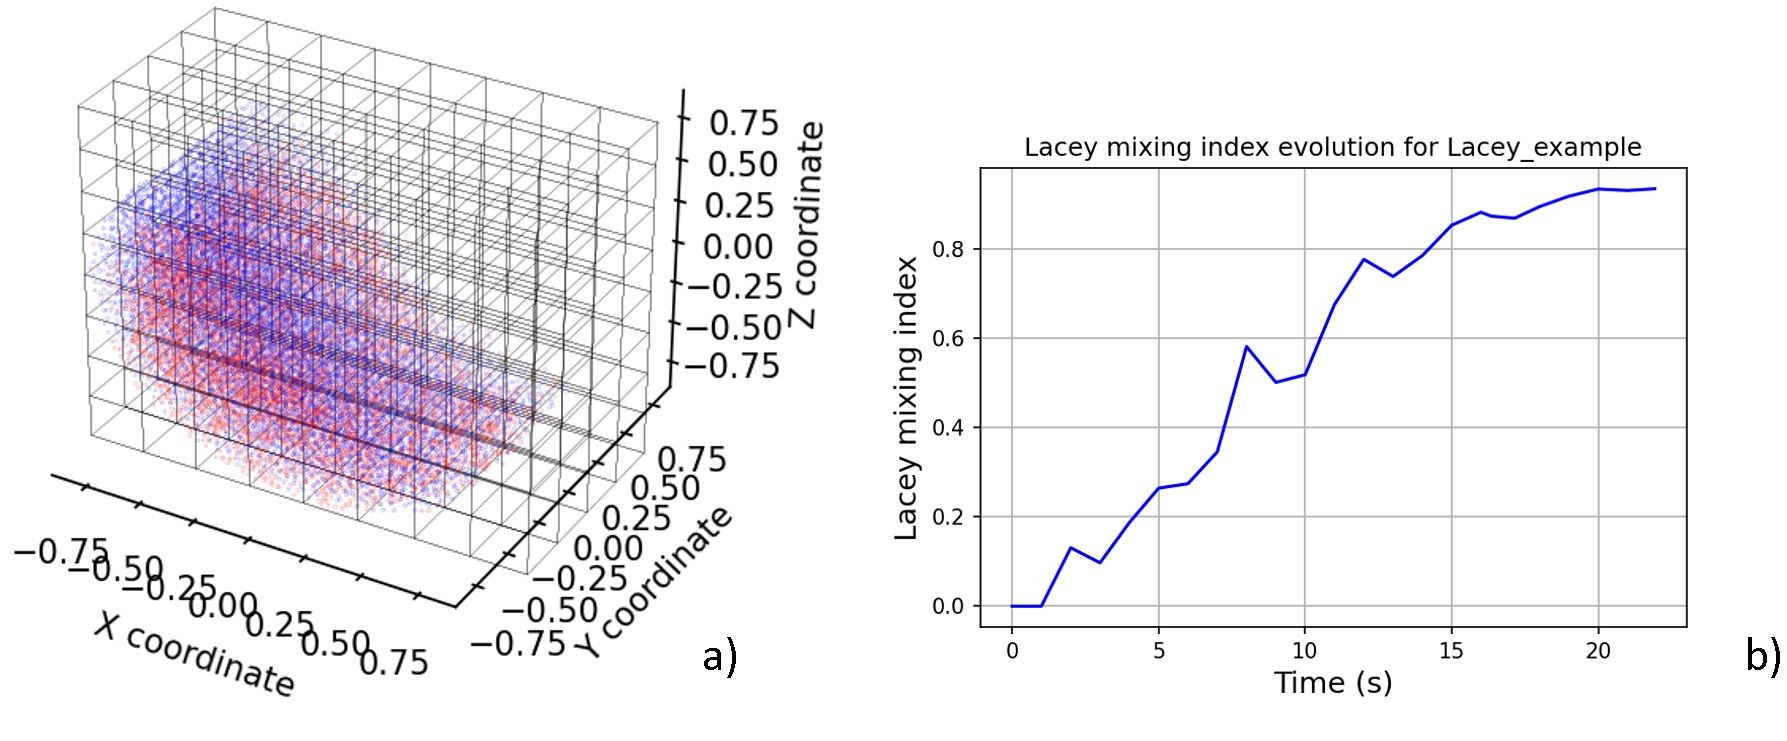
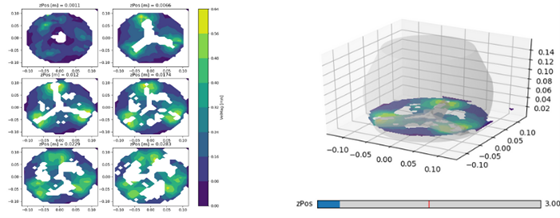
- Generate visualizations to better understand your results
- Automate batch analysis of multiple simulations
- Integrate with the broader Python ecosystem for advanced data analysis
Writing EDEMpy Scripts
With EDEMpy, it is easy and straightforward to access your simulation data, whether it is particle, geometry or contact data. Data can be accessed for each timestep, allowing users to analyze how their simulation evolved over time. Additionally, particle and geometry data can be accessed using their respective names, making it simple to extract exactly what you need for your analysis.
A basic script typically starts by importing the EDEMpy library and loading a simulation deck. Here's an example of how to get started:
# Import libraries
from edempy import Deck
import numpy as np

# Read the simulation deck
with Deck("My_Simulation.dem") as deck:

    # Get the total number of timesteps in the simulation
    num_steps = deck.numTimesteps

    # Get the forces acting on a geometry at a specific timestep
    geometry_forces = deck.timestep[5].geometry["My Geometry"].getForce()

    # Perform a calculation at every timestep
    for tstep in range(num_steps):
        # Get the position and mass of the particles
        positions = deck.timestep[tstep].particle["New Particle 1"].getPositions()
        masses = deck.timestep[tstep].particle["New Particle 1"].getMass()

        # Calculate the center of mass of the particles
        center_of_mass = np.sum(masses*(positions.T), axis= 1) / np.sum(masses)
Running EDEMpy Scripts
There are two ways to run an EDEMpy script:
- From the EDEM Analyst:
The simplest way to run an EDEMpy script is directly from the EDEM Analyst:
- Open the EDEM Analyst.
- Click on File → Run EDEMpy Script or press Ctrl+R.
- In the new window, click on the ... icon to select your EDEMpy script
- Add any required inputs in the Arguments field.
- Click Run Script to run the chosen script.
This method is ideal for quick analyses and doesn't require additional setup.
- Using a Python Virtual Environment:
For a more advanced usage or when you need to use Python libraries that don't come with the default Altair Python version, setting up a virtual environment is recommended.
A Python Virtual Environment is a folder containing a standalone Python installation. It is recommended to create a new Virtual Environment for each Python project, as this helps track project dependencies and enables sharing of Python projects.
To set up a Python Virtual Environment:
- Create a new Virtual Environment using the following commands (replacing path\to\myenv with the desired path for the new folder).
> cd C:\Program Files\Altair\EDEM version\common\python\python3.8\win64
> python.exe -m venv C:\path\to\myenvOnce the environment has been created, you must activate it so that any further Python commands or scripts will run inside this new version of Python. - Activate the Virtual Environment using the following command:
> path\to\myenv\Scripts\activate - With the Virtual Environment active, you can install EDEMpy using the following commands (replacing version with the actual version):
> cd C:\Program Files\Altair\EDEM version\EDEM\EDEMpy
> pip install edempy-version.whl
This approach gives you more flexibility and control over your Python environment.
Getting Started
If you're new to EDEMpy, here are some resources to help you get started:
- Watch our YouTube tutorial on creating a Virtual Environment for EDEMpy
- Check out the EDEMpy eLearning course available through the Altair Learning Center
- Refer to the official documentation included with your EDEM installation (found at
C:\Program Files\Altair\EDEM version\EDEM\EDEMpy\help\index.html)
Examples
If you want to explore EDEMpy further, these resources provide useful examples for post-processing your simulations: